
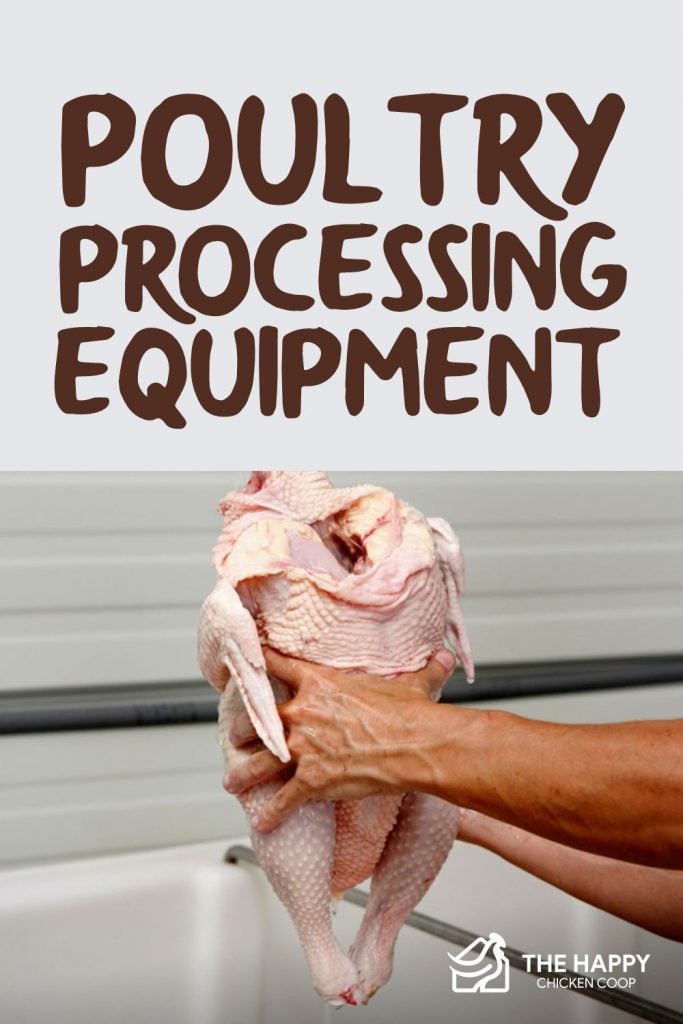
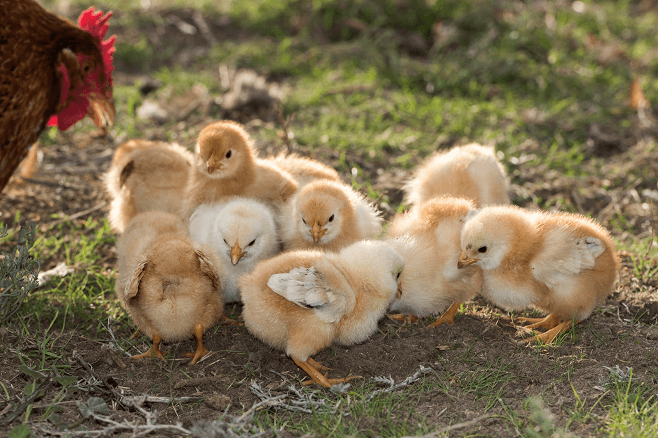
So you’ve decided to raise and process your own meat chickens. You’ve done your research and know exactly how to raise the perfect broiler.
Now you’re looking forward to poultry processing day.
It’s important to be prepared and have all the processing equipment ready before the butcher day arrives (and trust me, it sneaks up fast!).
This list is a complete guide of everything you’ll need to have ready and set up on judgment day (for the meat chickens, of course).
Having all of these tools set up and ready to go will allow you to focus on how you’ll be handling your chickens.
The last thing you want is to be running around like a chicken with your head cut off, pun intended, while you have a chicken with its head cut off in your hands looking for a poultry cone.
So dig in, mark it all on your shopping list, sit back, and watch all the YouTube videos you want on the many different ways to process your chickens.

Poultry Processing Requires Fresh Water 
A tad anti-climactic, right?
Don’t worry. We’ll get to the interesting equipment later on. But first and foremost, you’ll need access to water.
While it’s ok for you to have water in buckets carried to your procession station, it’s even better if you can set up your station next to a fresh, running water source.
Especially if you’ll be using a commercial plucker…more on that later.
https://www.youtube.com/watch?v=-9_UHrX-pKY
You’ll use water for four things:
- Cleaning and washing your hands, knives, tools, and the birds
- Scalding the birds (if you’ll be de-feathering them with a scalder)
- To run a plucker (if you’ll be using an automatic plucker)
- To wash the carcass once de-feathered and soak it in, you move on to the next chicken. This is done to cool them down after scalding and store them while you work on the rest of the flock.
So, if you can, try your best to be as close to a clean water source as possible. It should also be potable water in that it comes from a private well or city water.
It should not pass through a garden hose either, as they aren’t considered appropriate for food processing.

Ice
You will use ice to chill birds after dressed, and you may use it to regulate the scalder temperature. You can keep it in a cooler at your processing station.

Disinfectant & Soap
You’ll need disinfectant to clean all areas in which your processed chickens contact to protect the health and safety of those who consume the meat.
Additionally, sanitizers and soaps are good to have on hand to wash up between chickens (especially if you’ve come across a chicken that was unhealthy and can not be consumed).
When you gut your chickens, you’ll quickly learn to be mindful of the entrails as you process your birds.
Accidentally cutting into these organs will contaminate the meat. So you’ll have to clean your tools and wash your hand between birds.
Sterilizing Equipment (Optional)
You can purchase sterilizing machines or sterilize your tools on your own. It might be handy to have a sterilizer on hand if you come across an unhealthy bird or drop your tools.

Buckets, Bags, and Trash Bins
You’ll find that the more buckets, trash bags, and bins you have on hand, the better, especially if you have a large flock.
These items will come in handy when draining blood to catch it and keep the area clean.
They’re also useful for containing stray feathers, byproducts (like chicken legs), and putting the entrails into.
Designate certain containers for waste, food for consumption, or byproducts that can be used in things like dog treats, for example.
And if you’ve got dogs and barn cats licking their chops as you process your flock, you’ll want to ensure everything is secured and out of reach so you can dispose of waste properly.
Poultry Processing Cones
Poultry processing cones come in handy whether you’re beheading chickens or cutting the carotid artery because it not only holds the chicken in place while dispatching, making for easy handling, it also provides a place to put the carcass.
At the same time, the blood drains from the body.

Poultry Processing: Dispatching Aids
What you use to dispatch your chicken will depend on your personal preferences. With that being said, here are a few options to consider:
Hatchet and Block
The old-fashioned way of dispatching a chicken is the good ol’ chopping block.
In this situation, you’ll place the chicken’s neck between two strategically placed nails on your chosen chopping block, and in one swift movement, you’ll remove the head from the body.
This is called the beheading method.
Cone and Poultry Killing Knife
Whether you’re dispatching with a hatchet or using a knife to cut the carotid artery, you’ll need a cone to place the carcass in to allow the blood to drain from the body.
If you’ve chosen to slit the chicken’s throat, you’ll need a sharp knife that was intended for processing chickens. You never want to use a dull knife as it can cause inhumane suffering.
So if you decide to employ this method, ensure that you have the appropriate knife sharpers nearby if you’re processing a large flock. You’ll need to keep your knife extremely sharp.
You should note that this method is considered one of the most humane ways of dispatching a chicken if done correctly.
Broomstick Method
The broomstick may be used as a method of “breaking the chicken’s neck.” If this is the route you go, you can either do this by hand or with the aid of a broomstick or long stick.
Co2 Chamber
This is a method used by many commercial poultry processing companies. It requires a Co2 chamber, gas, and patience.
Pellet Gun
Some are more comfortable using a pellet gun to dispatch their chickens, but this method can be messy and cause a lot of stress for the chicken if it does not die instantly.
Unfortunately, stress can cause a surge in hormones for the chicken and result in tough meat.
So keeping your chickens comfortable and calm is important for both the quality of meat and maintaining a humane operation.

Scalder and Thermometer
After the chicken is dispatched, you should hang it over a bucket to allow blood to drain. This is where mounted poultry cones come in handy. From there, it goes into a scalder to make feather plucking easier.
Even if you plan to skin your chickens, you’ll want an easy way to remove the feathers.
You can purchase an actual scalder intended for chicken processing, or you can utilize your own pots and heat sources for this part of the process.
If you chose to use your own heat sources and pots, you’d also need a thermometer to ensure that the temperature is between 130 and 170 degrees Fahrenheit for the chicken to be properly scalded.
Too low of a temperature will make the de-feathering process much more difficult, and too high will start to cook the chicken.
Industrial scalders, or scalders made specifically for processing chickens, often have a thermometer and regulator installed, making maintaining the appropriate temperature much easier.
De-feathering Poultry Processing Equipment
After you’ve properly scalded the chicken, it’s time to either place it into an automatic plucker or hand pluck it.
Here’s what you’ll need:
Plucker
In truth, an automatic plucker is a must-have for anyone looking to butcher chickens regularly because hand plucking is a painstakingly long process.
Automatic pluckers are typically large drums with rubber fingers inside. The drums connect to a water source and spin (with the help of an electric motor).
Feathers are then “ripped” out of the properly scalded chicken, leaving a small number of excess feathers, mainly pin feathers.
Pinning knife
A pinning knife makes the removal of leftover feathers much easier. Those that remain on the carcass usually consist of a few large feathers and small pin feathers.
If you don’t have a pinning knife, you’re left to pick and pluck at every single one of those wispy little feathers.
And if you’ve got a large flock to process, you’ll be butchering into the evening for sure.

Cooler or Large Bin
Once your chickens have been dispatched, it’s wise to allow them to sit in a cooler of water until you are ready to remove the undesirable organs.
During this time, rigor mortise will naturally begin to set in, but this is also the time to allow the chicken’s muscles to rest.
Butchering Equipment
When you’re ready to finish the chickens (dress them), you’ll need to have the following items on hand:
- Knives and Sharpeners: Remember, always have sharp knives on hand. This will be important as you begin the dressing process (especially if you plan to breast out the chicken as it’ll help you maintain accuracy).
- Lung Remover/Rake (optional): Helps remove the lungs from the small opening and cavity.
- Cutting Boards: For ease of cutting and maintaining a clean environment
- Sturdy Table: A sturdy table or butcher block will go a long way when cutting up a chicken. Ensure it’s level and cannot wobble to prevent yourself from accidentally cutting yourself.
Storage Supplies
When all is said and done, it’s time to pack up your harvest and store it in the freezer.
You can purchase plain freezer bags, use a vacuum sealer, or purchase shrink wrap freezer bags and zip ties to keep your whole fryers or broilers fresh.
Now that you’ve got everything marked off, you’re on a chicken processing checklist.
You can start thinking about the method you’ll feel most comfortable with when butcher day arrives.
READ NEXT: 2020 Case Study: Growing Interest in Raising Chickens for Meat


It’s awesome that you talked about chicken processing and what equipment it’s required! Recently, my aunt said she’s interested in starting a farming business. My aunt wants to raise and sell different types of livestock, so I’ll be sure to share your processing tips with her! Thanks for the advice on butchering equipment and its features!