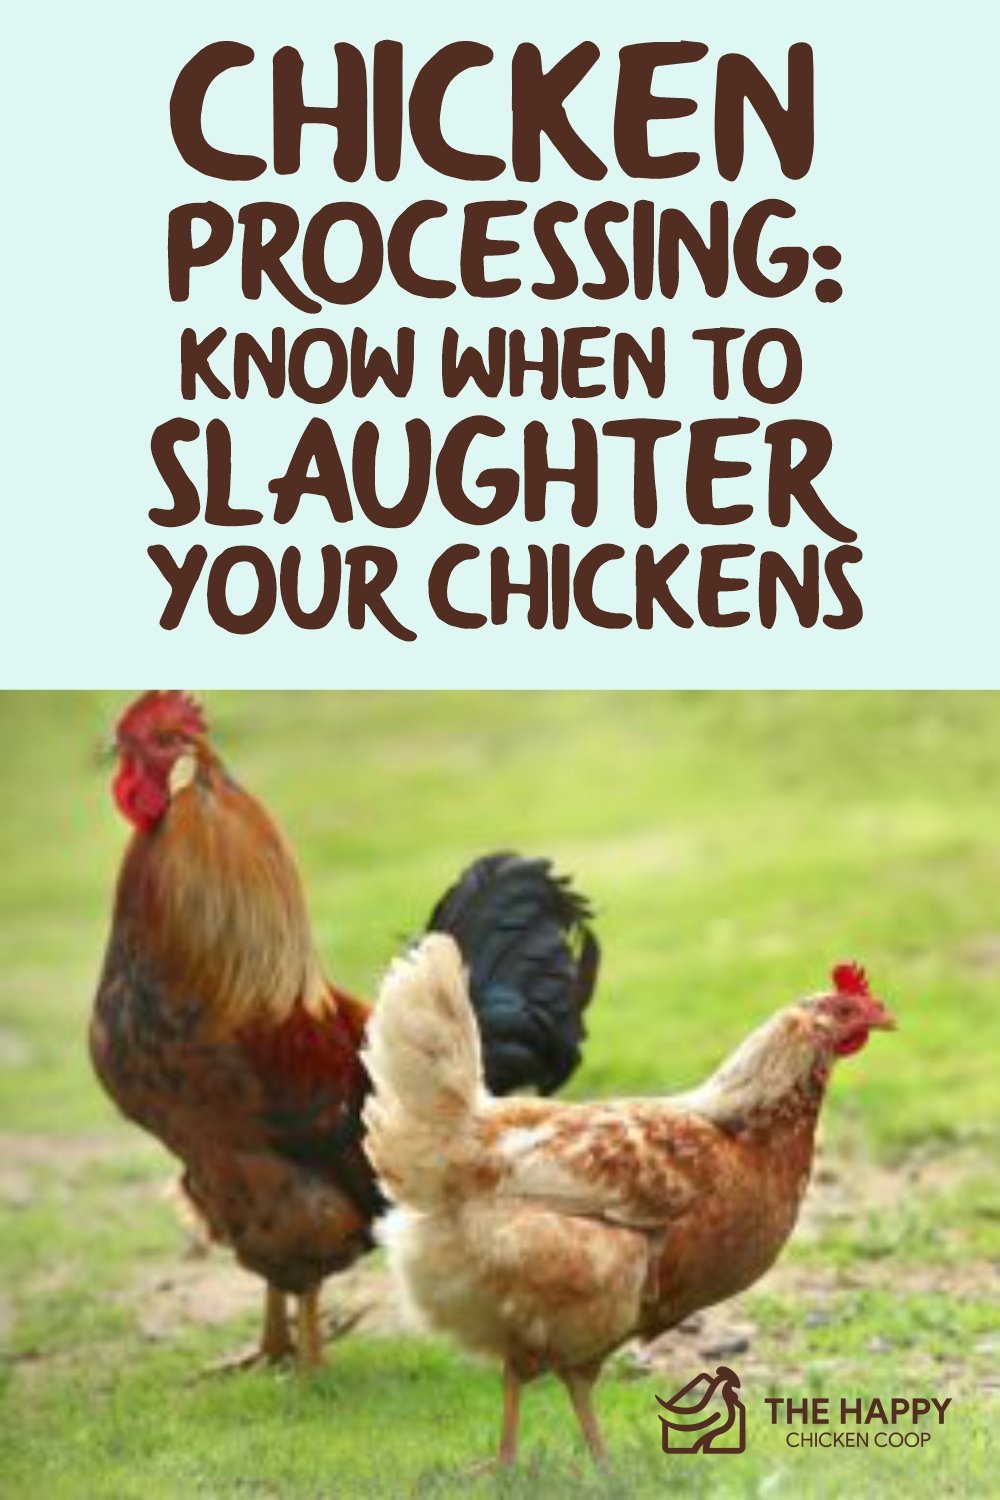
It would be great to have a hard-and-fast rule for the exact day, weight, or age to slaughter a chicken. That kind of precision is nearly impossible due to the number of variables involved. In this article, I’ll go over the variables to consider when planning your chicken processing day so you’ll have the perfect dressed-out chicken when you’re done.

Planning Chicken Processing: Understanding the Growth and Development of Chickens
First and foremost, it’s important to understand that chickens go through a few different phases of development on their journey to adulthood.
And, most importantly, all chickens mature at different rates depending on a variety of factors (including breed, feeding schedules, and types of feed, for example).
Knowing your breed’s characteristics, growth rates, and finishing sizes will help you make the right choices when it comes to slaughtering your chickens.
Factors in Chicken Processing: Weight vs. Age
When it comes to slaughtering different kinds of animals for human consumption, the two biggest determining factors regarding processing timeframes are the weight and/or the animal’s age.
Often age is a determining factor used to choose a processing timeframe.
This is often done to prevent overfeeding and cut down on feed costs while increasing profit. Plus, it’s easy to predict the maturity and weight of an animal-based on its age.
On the other hand, different breeds mature at different rates. Thus age might not be the best determining factor when deciding on a butcher date.

Chicken Processing: Slaughter Dates Depend on Chicken Breeds
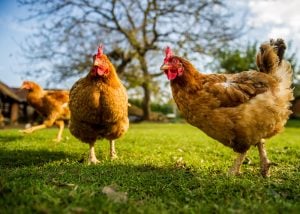
If you’ve been evaluating different breeds of chickens to determine which you’d like to raise as a meat bird, you’ve probably noticed that there is no shortage of options.
Some breeds of chickens grow faster than others, and the growth rate will certainly play a role in choosing your butcher dates.
In general, there are two different types of chickens to choose from (aside from specialty breeds), and which you chose will play a large role in your processing timeframe.
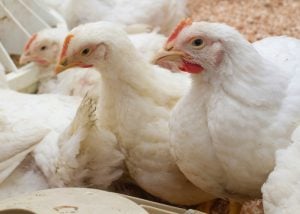
Cornish Cross Broiler
When you think of the typical meat chicken, the Cornish Cross is what probably comes to mind. This is the signature bird of the big commercial operations because they grow big and extremely fast.
Since this breed grows abnormally fast and large, it is best to process it at a determined date to prevent illness and death due to predisposed health conditions in this breed.
With that being said, there are many prescribed feeding plans available that can help cut down on losses and keep the processing timeframe more predictable.
If you chose this breed and feed based on a prescribed schedule, usually, the hatchery you purchase will have this information.
You can expect to slaughter them in 8-9 weeks…like clockwork.
With that being said, there are a few other factors to consider that will affect this timeframe (more on that later on)
Meat Chicken Alternatives
Aside from the Cornish Cross broiler, the Ranger breed is another fast-growing, large chicken breed to consider.
These chickens don’t grow quite as fast as the Cornish Cross, but they can usually be butchered around 10 weeks, depending on your chosen feeding schedule.
These breeds are an excellent choice for someone who isn’t interested in the Cornish Cross broiler and wants to raise their meat chickens on pasture or free-range, as they are savvy chickens that excel at foraging.
Remember, this may affect your processing timeframe.
Heritage Breeds
If you’ve decided to raise heritage breeds as meat chickens, you’ll be looking at a longer wait time for maturity.
In this instance, you’ll have a less predictable timeline for processing, especially because you have many different breeds to choose from.
For example, if you chose a large breed, like the Jersey Giant, you could be waiting 6 months to a year to butcher it due to its slow growth rate.
With that being said, you’ll also be rewarded with a nice large carcass on processing day.
When it comes to heritage breeds, it might be more beneficial to determine your slaughter date based on weight until you are familiar with the growth of the breed you’ve selected.
Once you have a firm grasp on that, you can probably start predicting the perfect slaughter date.
However, keep in mind the longer you wait to process a chicken, the tougher they tend to get. If you’re ok with soup or crockpot chickens, you can wait as long as you’d like.
In general, any breed that is not a Cornish Cross or alternative meat breed can be processed between 4 and 10 months of age without it getting too old and tough.

Chicken Processing Timelines: Different Feeding Practices
Typically, when raising meat chickens, you’ll opt for a feed that’s labeled as grower or finisher feed. This has a higher concentration of protein than layer feeds.
The extra protein helps your chickens grow quickly and produce a carcass that is more palatable.
On the other hand, if you’ve chosen to raise your meat chickens organically on pasture, their feed supply cannot be controlled or monitored as well.
And in this type of situation, it’s important to monitor health and growth to project an appropriate processing day.
You’ll definitely need to decide on a processing date based on weight and not age in a free-range situation.
Since you won’t have control over feed rations or what they are eating. Depending on your location and your chickens’ ability to forage for what they need.
Layer vs. Meat Chickens
Another point to make here is the difference between layers and meat chickens (and how you’ve fed them).
Because if you’ve been feeding your chicken’s layer feed, they’ve been consuming less protein than if they were eating feed formulated for meat chickens.
And in most cases, the birds will not grow as quickly.
For example, many raise chickens as layers, then cull and replace them after a certain amount of time. In doing so, have a nice meat chicken (that’s not too tough) and fresh eggs.
As a rule of thumb, heritage breeds, typically kept as layers, start to lose their tenderness after about 8 months.
So, you might not get many eggs out of your chicken by that time. However, this is a route many homesteaders take to optimize their chicken’s protein-giving abilities.
ALSO READ: How to Feed Meat Chickens
Slaughter Dates For Chicken Processing Depending on The Finished Product
When you decided to raise chickens for meat, you probably put some thought into the finished product (i.e., a whole broiler, fryer, wings, breasts, or soup chicken).
If that’s the case, timing will play a large role when choosing a date to slaughter your chickens.
The following descriptions should help you plan an appropriate timeframe.
Young Broiler or Fryer
A broiler is typically a younger chicken, weighing around 2 ½ pounds dressed.
For simplicity’s sake, a Cornish Cross butchered and dressing out at this weight. Around 8 weeks could be considered a broiler. This is when the meat is the most tender.
Many interchange broiler with the fryer. In truth, a fryer is usually butchered around the same age as a broiler, but it will weigh about a pound or so more.
In this situation, both age and weight come into play. As long as you know your intentions, you can plan for broilers or fryers fairly easily.
Roaster
Roaster chickens are older than a fryer or broiler but less than 8 months old.
Typically, roasters also weigh more, around 7 pounds.
Soup or Crock Pot Chicken
If you’re raising your birds for eggs as well, or keep them around a little too long, you can still slaughter them and employ cooking methods that reintroduce tenderness to the old bird, like in soups or crock pots, for example.
Chickens older than 10 months are often used as soup chicken because they become quite tough after this point.
Hen vs. Rooster vs. Capon
As you probably know, hens are usually smaller than roosters, which can also play a role in butcher deadlines.
As you approach your planned processing day, take a moment to assess the size of your broilers, especially if they are Cornish Crosses.
Keeping back smaller ones for a later date may allow them to bulk up a bit more after the “food hogs” or large roosters are out of the equation.
Don’t worry about the birds becoming tough if it’s only a week or two because they can easily be used as roasters.
On another note, some choose to castrate their roosters. This is called caponizing, and it’s done to create a fatter, more tender meat than what a rooster typically produces.
Caponizing, however, is a surgical process that takes some extensive learning and practice.

Step-by-Step Chicken Processing
After knowing when to slaughter your chickens, the next step would be to the actual chicken processing procedures. It may take some practice to fully grasp the entire set of methods.
Still, being able to learn chicken processing and doing it yourself will save you from the hassle and cost of sending your chickens to a poultry processing factory.
Hence, here is a step-by-step guide on how chicken processing is done:
1st Step: Pick your chicken
The Cornish Cross broiler is the most recommended meat chicken for processing. They are large, meaty, and fast-growing birds where farmers can get the most out of a short timeframe.
There are also other meat chicken breeds that will do well in poultry processing. Whatever is your choice of chicken, make sure they are in the right age and weight to slaughter.
2nd Step: Get the proper equipment and prep the area
You often need a large space to do the cutting and plucking of chickens. You can sterilize your tables and area with a diluted bleach solution.
However, this is only optional and you can start preparing the right equipment for chicken processing.
There are many tools to consider when processing chicken meat. You need at least two sharp knives to slaughter the chicken and use the killing cones to restrain these birds and drain their blood.
Scalding would require large pots. When it comes to plucking their feathers, you can do it manually or have an electric plucker.
Just make sure you have a lot of large bins or a cooler to put and store your processed chickens afterward.
3rd Step: Kill the chicken
There are many ways to slaughter a chicken. It is recommended to kill one chicken at a time.
Many chicken farmers prefer using the killing cone and making a large slit through the neck. It is the quickest and most humane way to slaughter chicken while still preserving the quality of its meat.
To do this procedure, you need to hold the chicken upside down and pull its head through the cone hole. Using your sharpest knife, make a deep slice across the neck including the carotid artery and jugular vein.
Once successful, tug the head downward to allow the blood to drain. The bird is already dead, but it tends to kick and jerk as a postmortem reflex action.
4th Step: Use scalding water
After draining blood from the chicken, you can start scalding them in hot water to remove the feathers easily.
Make sure to heat your water at the right temperature, ranging between 135 and 140 degrees Fahrenheit. Otherwise, you might end up damaging their skin or cooking the bird.
Simply put the chicken headfirst into the pot and ensure that every part is submerged. Scald the bird for around 10 minutes.
5th Step: Chicken head removal
Stretch the chicken’s neck and cut through the esophagus just below the head. Using your sharp knife, this wouldn’t be a problem.
Some people processing chicken prefer to remove the heads while getting the guts out. However, other farmers would rather pluck the chicken without it staring at them.
6th Step: Plucking your chicken
You can start plucking a handful of feathers from the chicken, but better not to do it assertively to avoid damaging the skin.
You may need to pluck one at a time for larger feathers in the wings and tail area. While you can do the feather plucking by hand, you can also put these birds in a plucker machine and have it done in less than 30 seconds.
An electric plucker may be a little expensive, but it surely gets the job done fast and efficiently. After plucking, rinse the chicken to remove all the loose feathers.
7th Step: Gutting
You can start either at the rear or from the neck. During chicken evisceration from the rear, you need to remove the yellow oil gland near the tail.
Cut the skin upward until you find an opening. You need to cut the chicken open up to the breastbone without pushing too deep and damaging the intestine.
Insert your knife slightly above the vent and carefully scrape off the tissues connecting the organs to the body. Pull the intestines out, and the other internal organs will follow like a whole package.
When gutting from the neck, you need to make a slit at the back until you see an opening. Insert your hand into the bird and run along the sides of the ribs.
Once you find a hard, round gizzard, pull it out and the trachea, esophagus, entails, and crop will follow. Remove the lungs with the same method, but some people use a tool called a “lung scraper.”
Finish the gutting procedure by removing the neck. To do so, you cut the muscle tissue connecting the body and bend the neck to break it off.
8th Step: Dispose of the feet
Stretch and straighten each leg first. Cut through the joint between the feet and ankles.
Don’t throw the chicken feet away since you can still make stock, create recipes, or sell those parts.
9th Step: Chill the chicken
Put the chicken into a bucket of ice water for at least an hour to chill. Pat them dry afterward and store them in a freezer.
At this point, you can put them in a sealed bag or packaging. Avoid freezing and sealing the chicken right after processing since it traps the bacteria inside.
Let the muscles relax in the refrigerator for a few days before trying to sell or eat the chicken.
Chicken Processing Equipment
Now that you know when is the best time to slaughter your chickens and how to process chicken meat, you need quality poultry processing equipment to get the job done right.
To give you an overview of the equipment to prepare, check the tools you need for every step of chicken processing.
Dispatching or Killing the Chicken
- Cone and poultry killing knife
- Hatchet and block
- Broomstick
- Pellet gun
- Co2 chamber
Sterilization and Cleaning
- Buckets, bags, and trash bins
- Water and soap
Scalding
- Thermometer
- Large pot or electric scalder
Plucking
- Pinning knife
- Automatic plucker
Chilling
- Cooler or large bin
ALSO READ: Poultry Processing Equipment (Everything You Need to Butcher Chickens)
Other Factors In Chicken Processing
Factors such as environmental temperature, husbandry practices, or illnesses also play a role in your meat chickens’ development speed and size.
Raising chickens in cold temperatures, for example, will force your birds to spend more energy keeping warm rather than packing on the pounds.
Therefore, you may have to butcher later than planned.
As you can see, there are many factors involved in predicting the right time to slaughter your chickens. If you understand these variables, you’ll be able to plan with much more confidence.
Chicken Processing: Final Thoughts
The method of chicken processing can be a lot to take in. You need to grasp a wide knowledge not only about the process but also when to slaughter your chickens and other factors.
If you want to perform poultry processing yourself, you need the right equipment and expertise to process these birds properly. However, all these methods can be learned and mastered with practice and experience.
Homesteaders often do their own chicken processing procedures to save on cost and ensure the quality of chicken meat. So, if you have the determination, willingness to learn, and a strong stomach, you can definitely deliver these meaty birds from the farm to the freezer.
READ NEXT: How to Raise Organic Meat Chickens
Share This…